As we begin the next venture of home improvement, I am reminded of how far we have come. When we first bought our home it was, shall we say, less than appealing. Even in the midst of our sheer joy and excitment of purchasing our fist home together- the thought of making this house livable was exhausting! Thank God for the help and support from our family and friends! It was a ton of work!
To say the curb appeal has drastically improved would be an understatement! It's hard to see through the screen, excess of limb dibris, and thorn bushes gaurding the house, but the brick was a bright red and all the trim white. It was a scary descision, but the taupe base color was the perfect choice for us. My husband chose the red windows trimed in a dark gray- I was skeptical- but I love it, now! The landscaping (also my husband's doing!) is beautiful! Every season we have new color. This spring we had tulips. Now they're gone but the azaela's are bright pink!
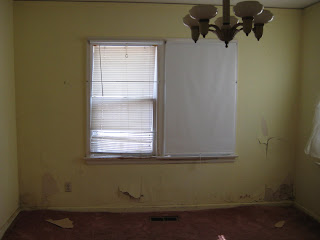
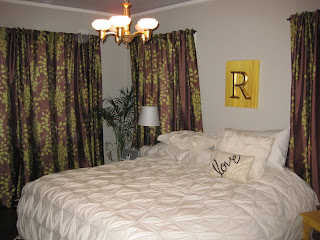
Layers of wallpaper, paint, and more wallpaper had to be hand scraped from every wall, ceiling, woodwork, and door throughout the house. This is currently our master bedroom- some of these walls had to be replaced with drywall once we got down to the plaster and found tons of scary mold growing everywhere! But check out the original light fixture. It was a pale yellow but I repainted it with gold leaf and it is beautiful now and still looks authentic!


Ohhh... the carpet. How could I forget? While we naivly assumed that this would be a simple task, we had no idea that the carpet pad, which had been in the hosue for 40 years, had turned to a waxy, clay-like, adheasive and also had to be handscraped from our wood floors. I can't believe we were able to salvage the floors at all! But again, my miracle working husband, (with the help of my dad) refinsihed the floors to all their glory with a dark chocolate stain. Gorgeous! And I love the way this room turned out. Althoughn its hardly ever been eaten in, we do walk through it all the time and its the perfect place to fold laundry, pay bills, and leave my purse and junk mail. So see- we use ours all the time!
So, here is a quick peek at the kitchen before the big kitchen renovation begins tomorrow... Granted... we did put a quick coat of white paint over every inch of the glowing robbin's egg blue color and, of course, we had to purchase a few appliances that worked... but this is basically the kitchen that we have been using for the past two years. YIKES! I cannot wait to get our new one!!


 A roll of thick wire and a few different sizes of pliers was all I needed to start. This was a difficult process and even harder to photograph! I started with the first few wires that would be the main part of the mobile and, as soon as I could, I hung it from my dining room chandelier so I could see how the mobile was balancing. After I finished the wire I felt like I had a little more confidence in myself and the process became easier and more fun as I continued.
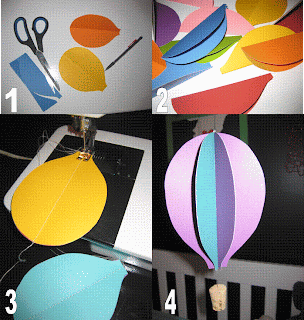 The ballons were actually very simple! 1.) Using double sided card stock, (actually note cards that I already had) I cut out the shape of my balloons. Each balloon needed 4 pieces of paper. 2.)I folded them each in half and then 3.) stacked four pieces together and sewed a straight line up the center. 4.) Lastly, I carefully "opened" up the ballon to show all the colors and, using clear fishing line, attached a cork and a bead underneath for the basket.
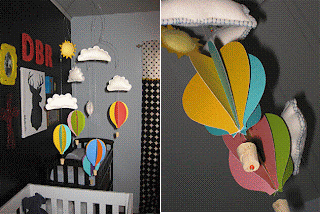

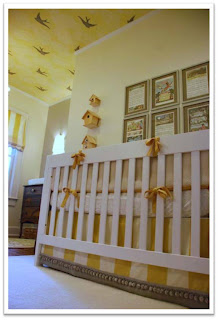
 I think a rocking chair and a soft rug are musts for any nursery. Also, a fun light fixture will make this space feel special. Now, we must be patient until we can find out what our little bean is. But the real challenge is to use these boards as inspiration only and restrain myself from just purchasing all these items and spending a small fortune on this room and not saving money for those other necessities... like diapers and car seats and that kinda stuff!


 I love how
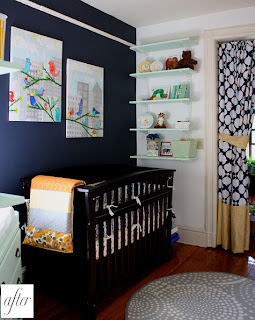


